Before & After
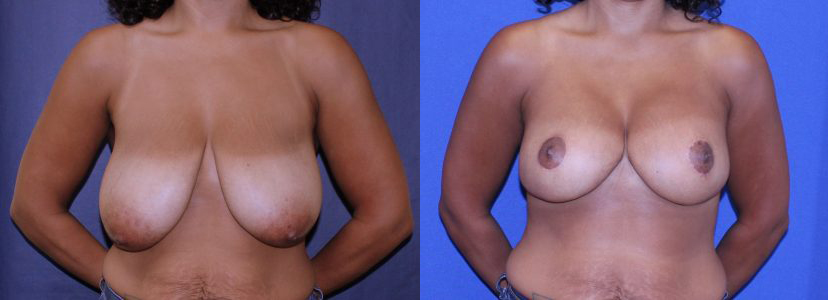
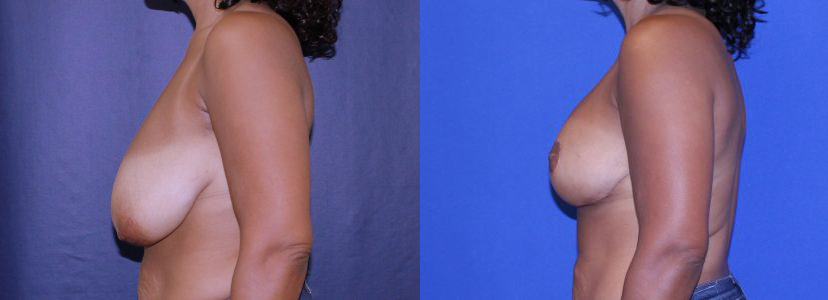

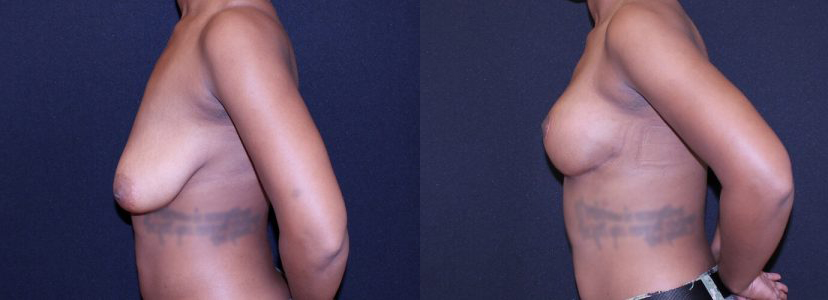

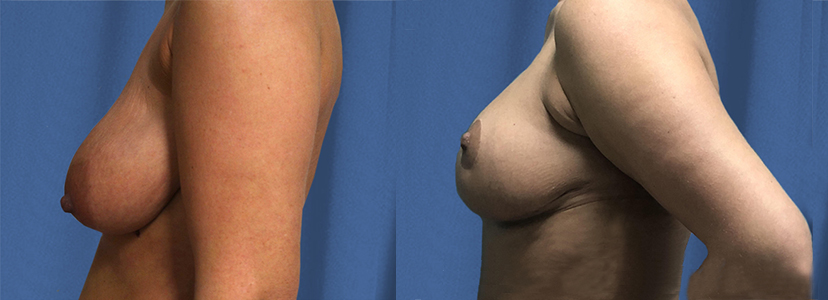
Disclaimer: All photos are from actual Bellesoma patients. Individual results may vary based on body type and differences in healing. These photos demonstrate what is possible, but in no way guarantees a certain result. Please discuss your individual situation with your Bellesoma surgeon.